Understanding the Importance of Design Diagrams
Design diagrams are like road maps for making things. Just like how a road map helps you find the best way to get from one place to another, design diagrams help us plan and make things, like buildings, machines, or even simple crafts. This week we will be using them to help us design a bird made from fabric.
What Are Design Diagrams?
Design diagrams are like instructions that show us how to put things together or how to create something new. They use simple pictures and labels to explain the different parts and how they fit together.
Planning and Organising
Imagine you want to build a treehouse. Before starting, you’d want to plan how it will look, where the rooms will be, how the stairs will go, and where the door and the windows could go. Drawing a design diagram helps us get all our ideas down on paper and decide how to organise the different parts of the treehouse.
Communicating Ideas
When you have a great idea for a project, like making a new toy or inventing something useful, a design diagram helps you share your thoughts with others. It’s like drawing a picture that helps everyone understand what you want to create.
Solving Problems
Sometimes, things don’t work out the way we planned and we need to change them. Design diagrams help us see where something went wrong and think of new ways to fix it. It’s like having a treasure map that helps us find solutions to problems.
Years 1 and 2:
Starter: Show pictures of different fabric birds and discuss their features.
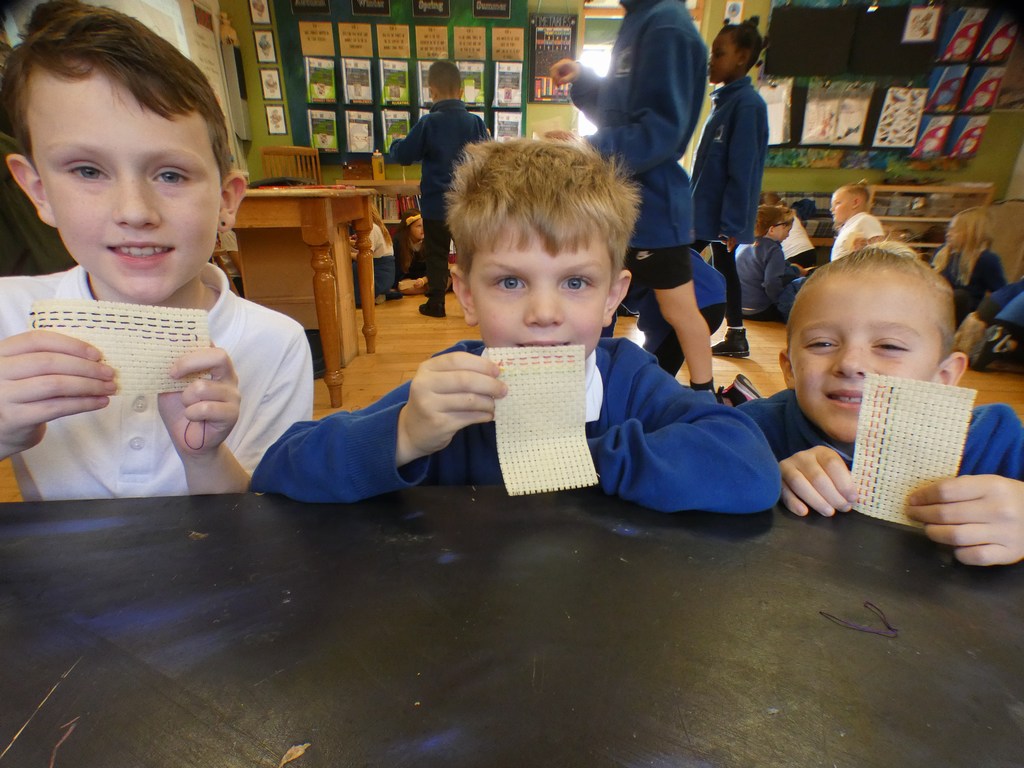
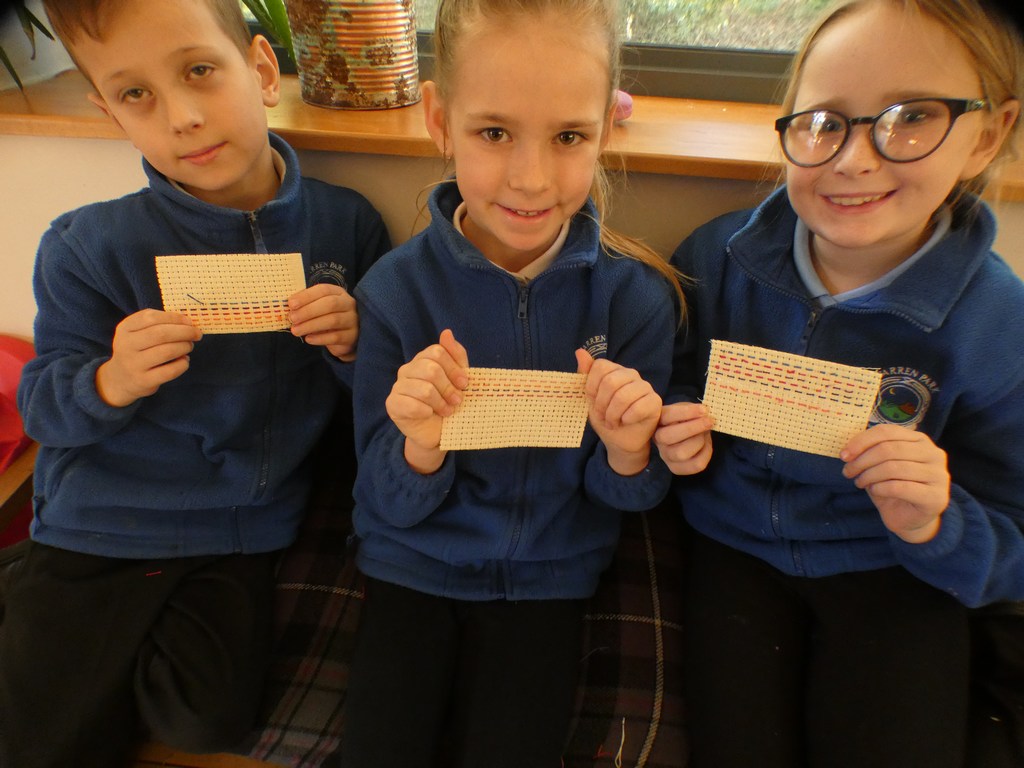
Input: Introduce key vocabulary related to design, such as “pattern,” “template,” and “fabric.” Discuss how these can be used to plan a fabric bird.
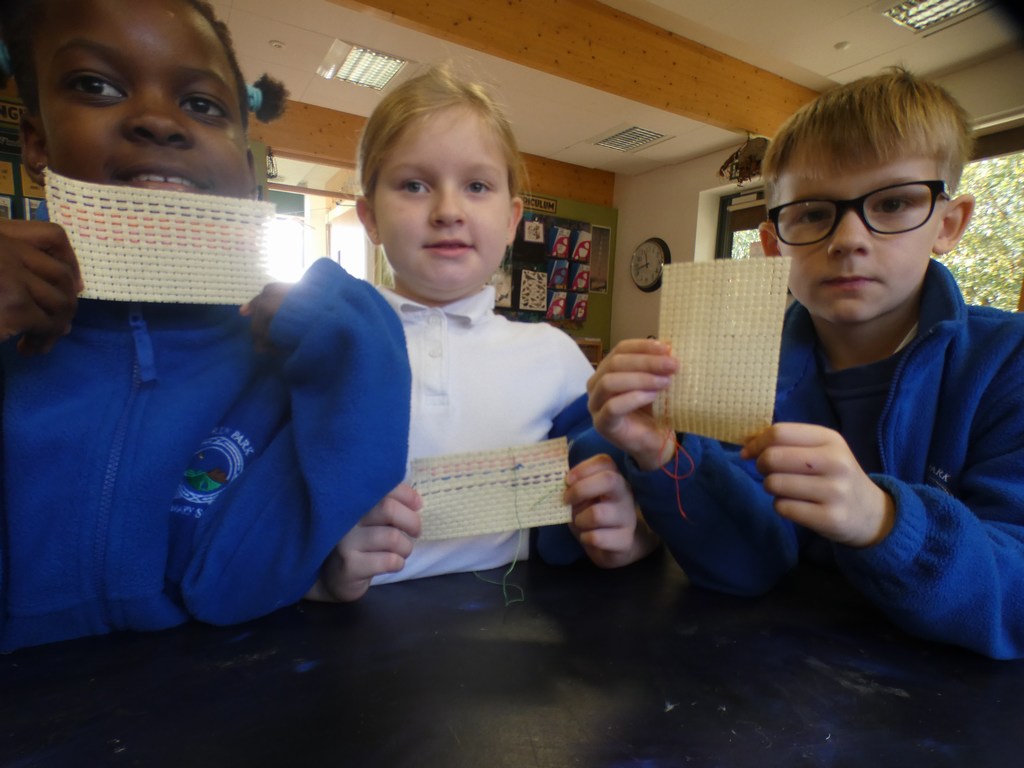
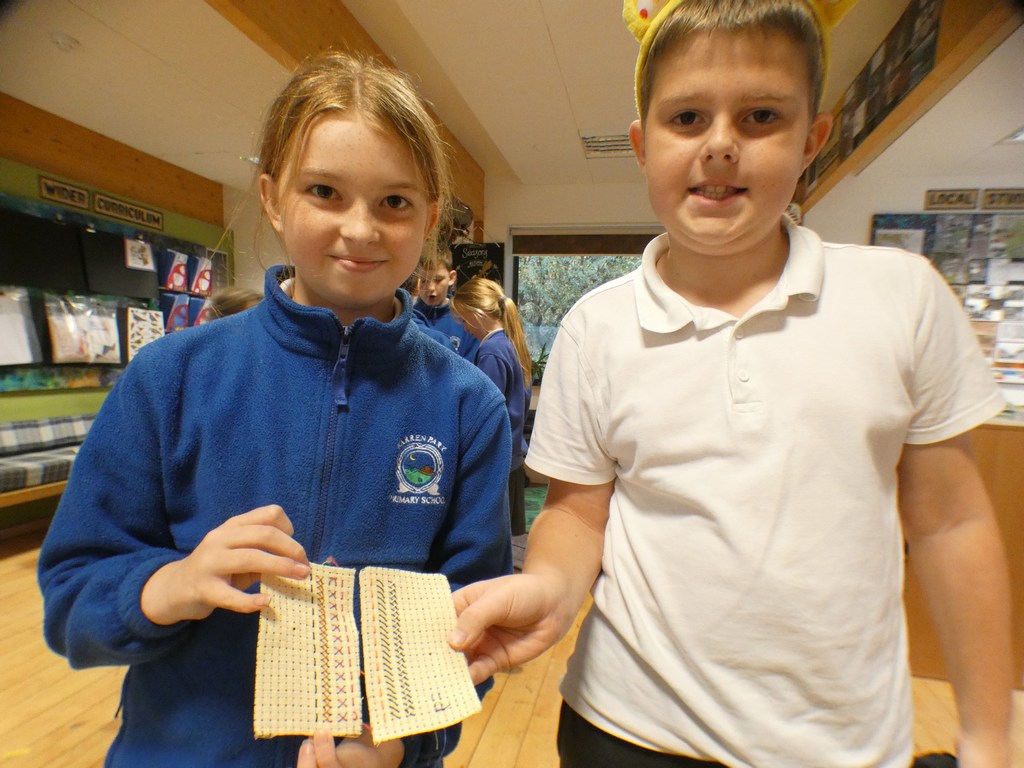
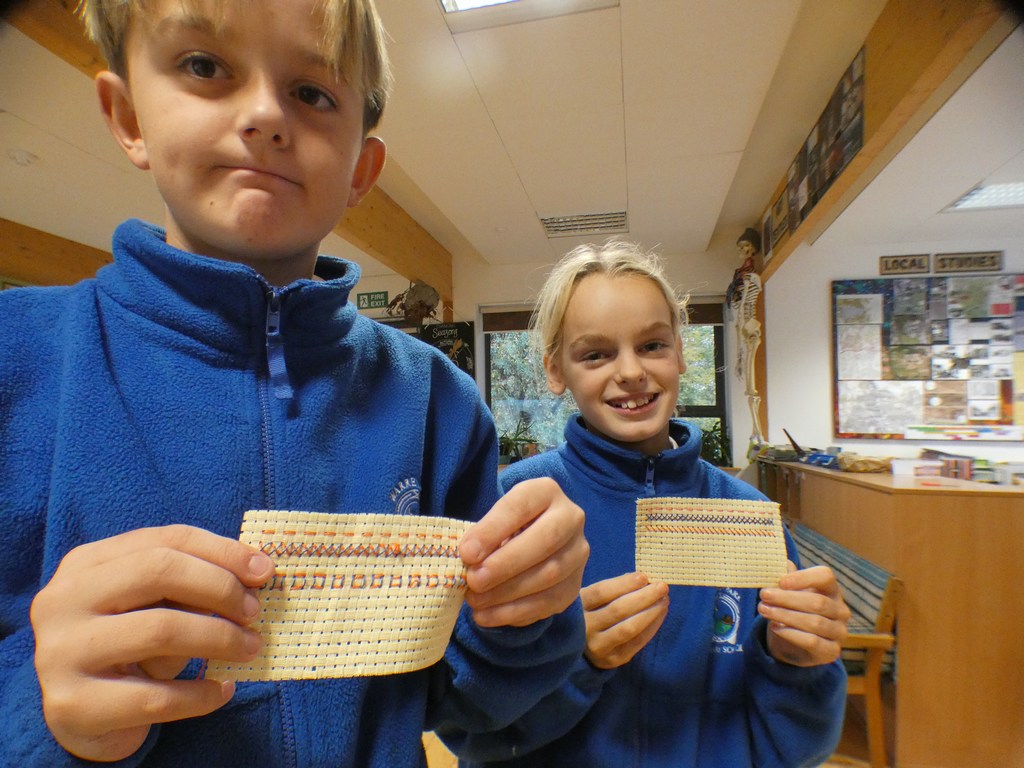
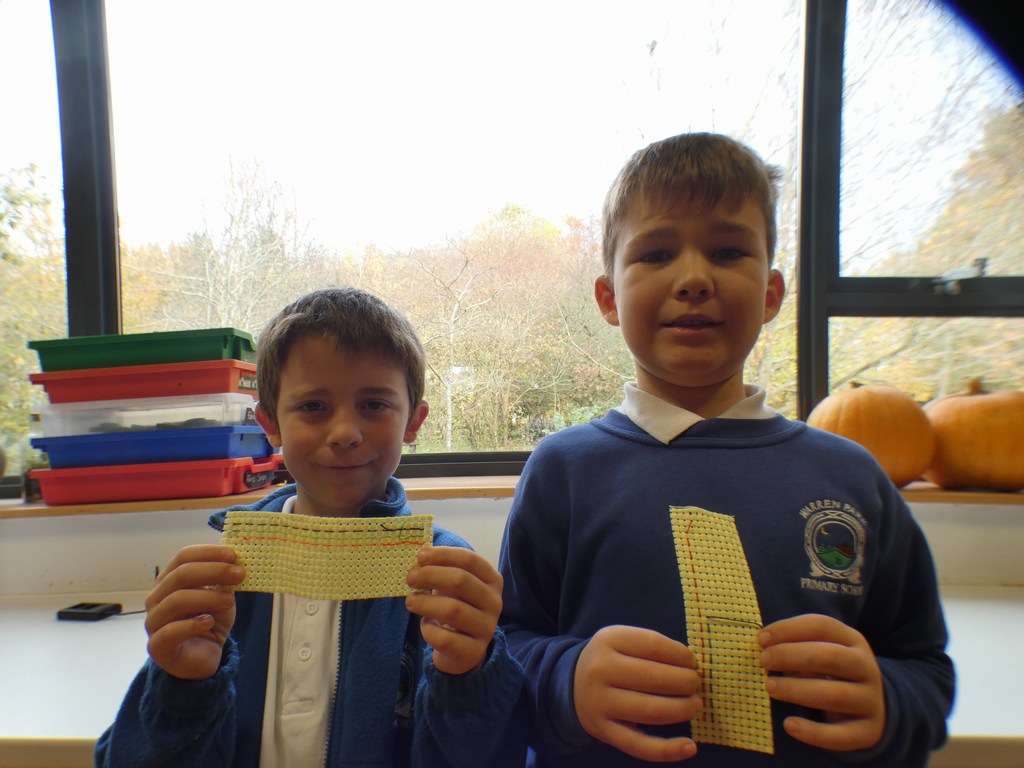
Activity: Provide templates and fabrics for students to create their fabric bird design diagrams.
Key Concept and Retrieval Questions:
What type of fabric will you use for the bird’s body? Why?
What colours will you use for the bird’s beak and eyes?
Was there anything else you would like to add to your fabric bird design diagram?
Years 3 and 4:
Starter:
Show images of different fabric birds and discuss their designs as a class. Ask questions like: What materials do you think were used to make these birds? How do you think the fabric was attached to create the birds?
Input:
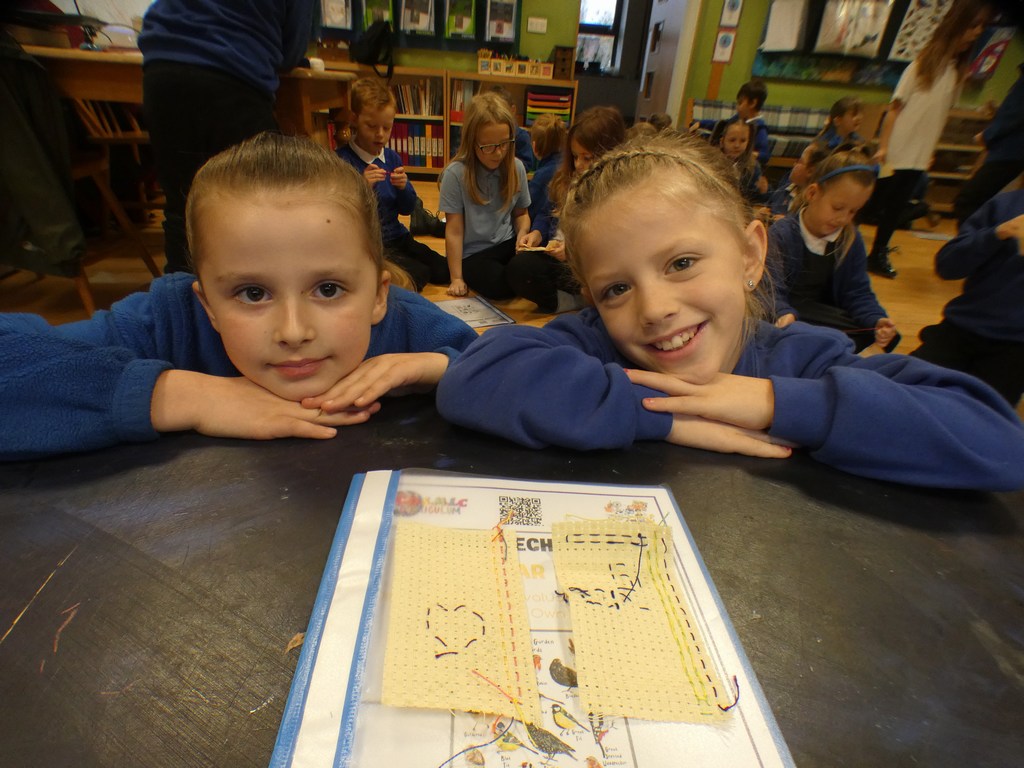
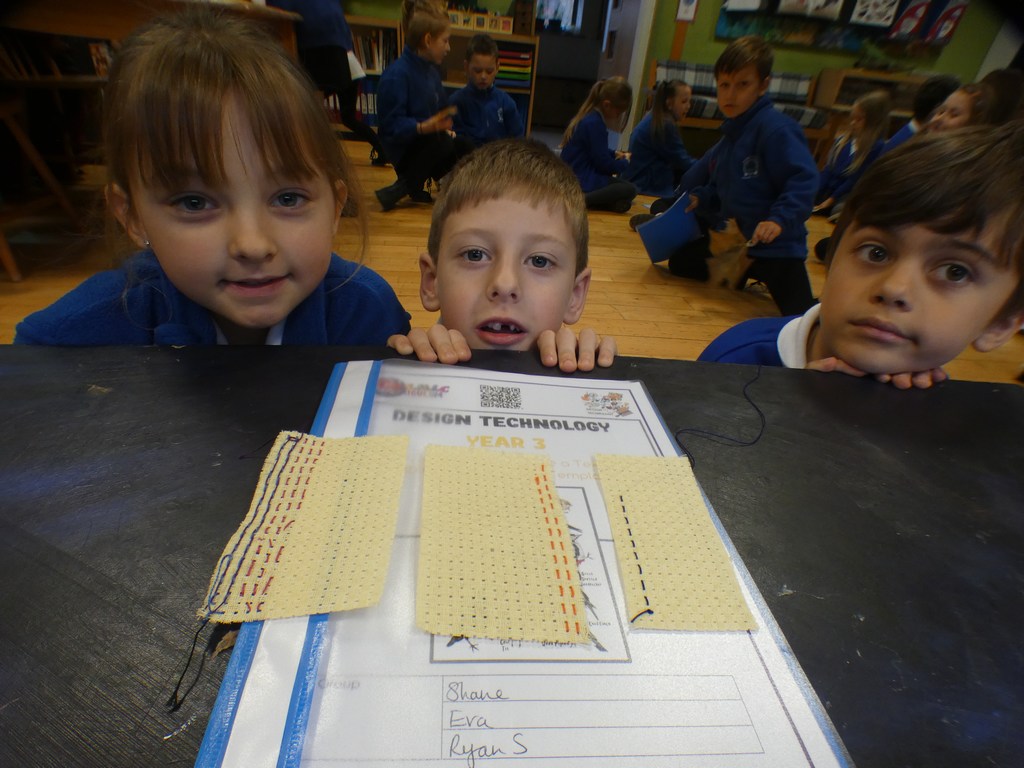
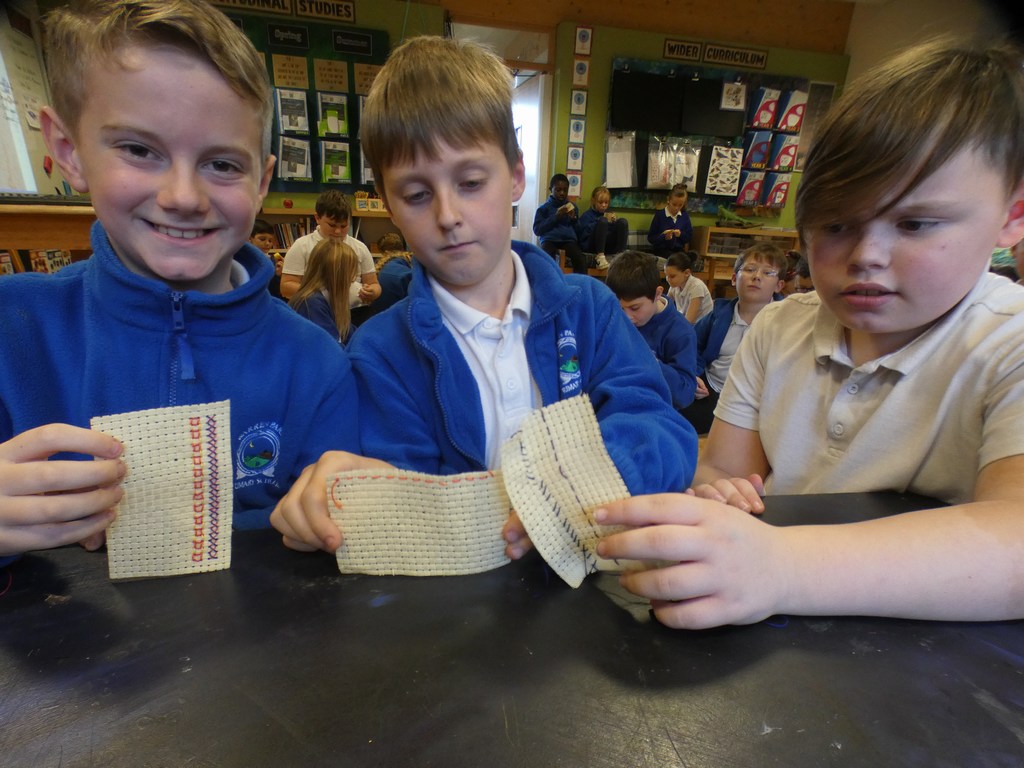
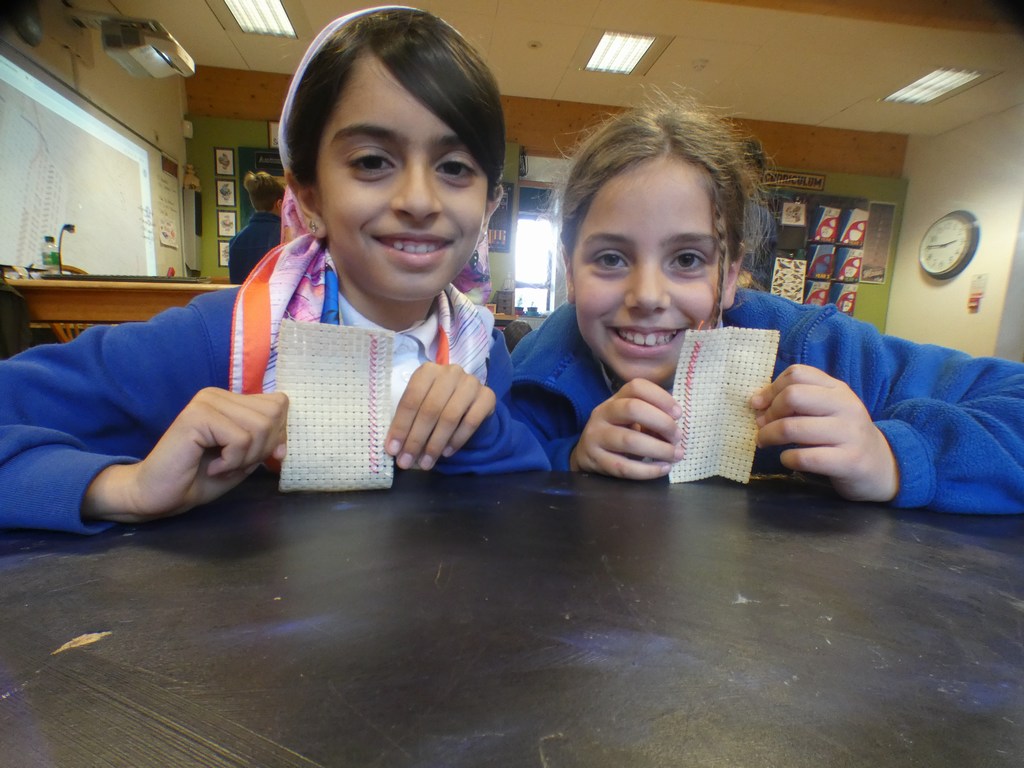
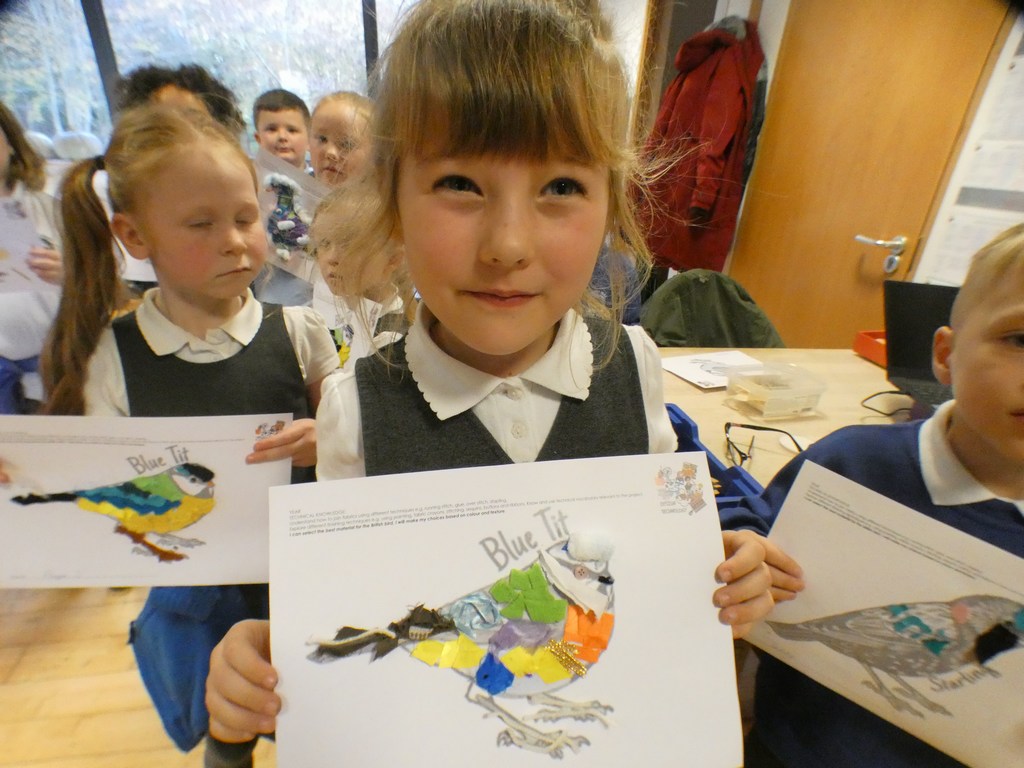
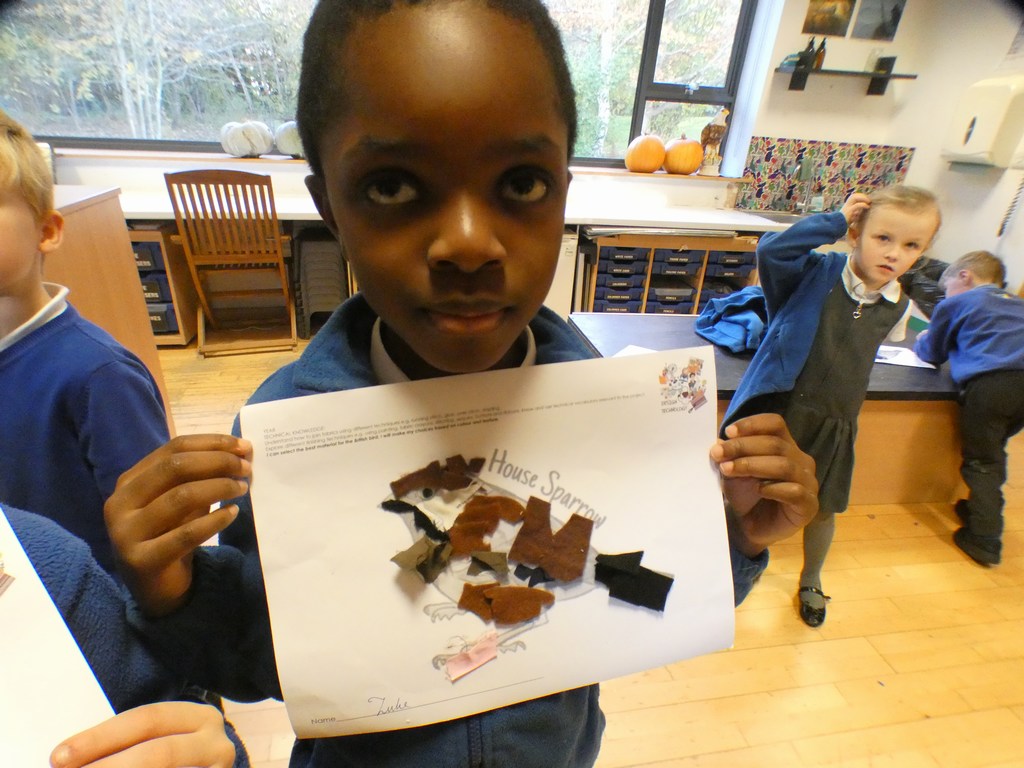
Teach the children about different fabric bird designs and basic sewing techniques. Introduce vocabulary such as design diagram, fabric types, stitching, etc.
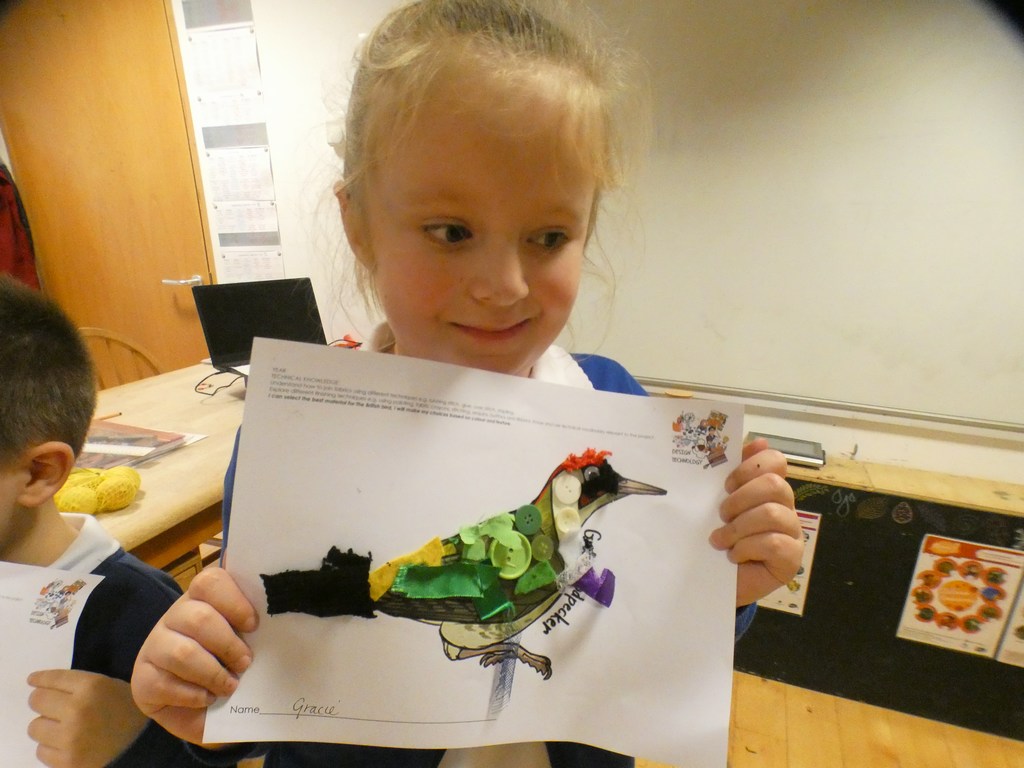
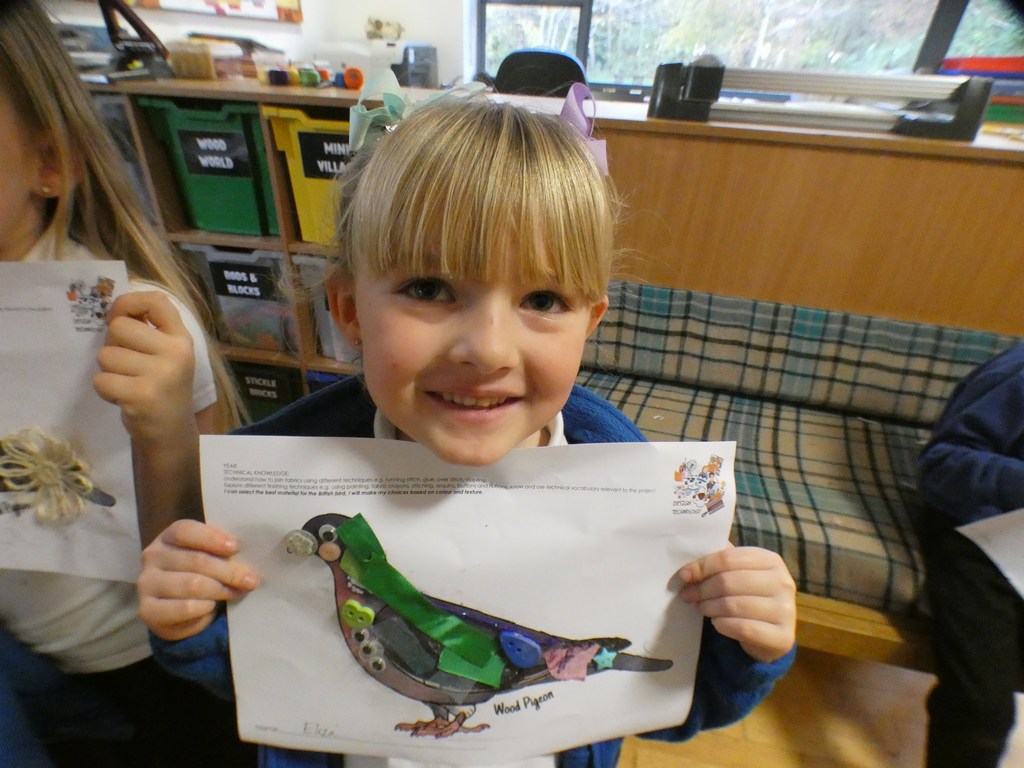
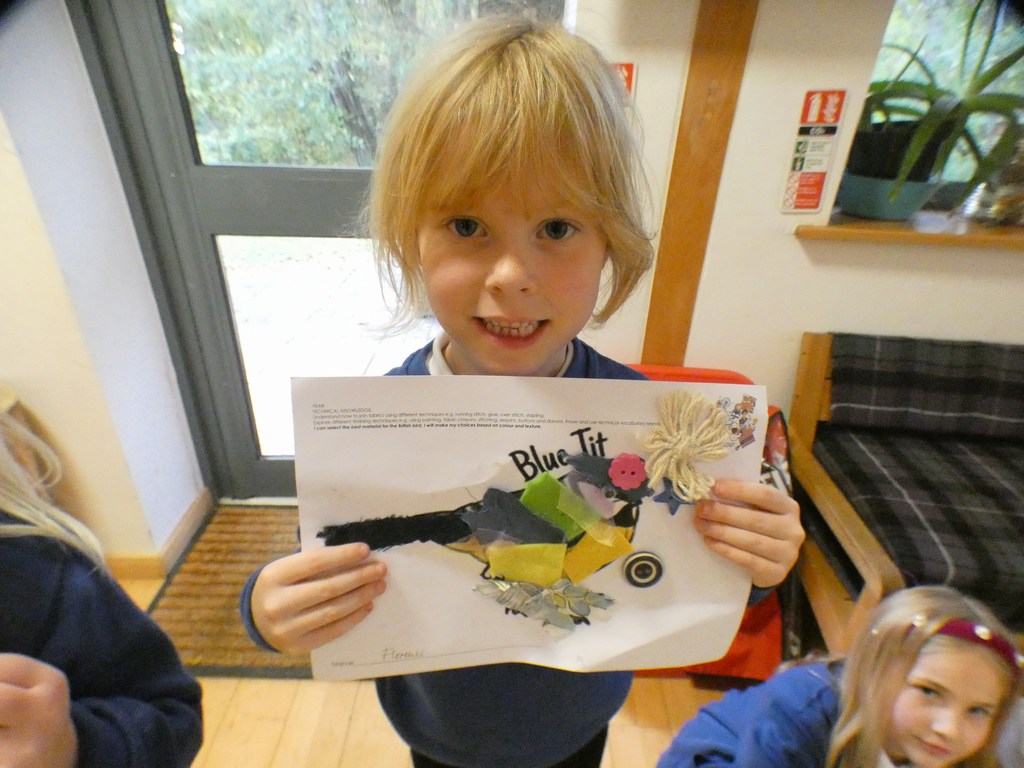
Activity:
Provide fabric samples, sewing materials, and design paper. Children will design and create their fabric birds. More confident pupils can create more complex designs.
Key Concept and Retrieval Questions:
What materials could we use to create the body of the fabric bird?
How can we make the wings and tail stand out in our design?
Why is it important to consider the embellishments we add to our fabric bird?
Years 5 and 6:
Starter:
Show images or actual samples of fabric birds to stimulate discussion and generate ideas, prompting students to think about the design criteria needed to create these birds.
Input:
Introduce the concept of design criteria and explain how it relates to creating fabric birds. Discuss the different elements of a design diagram, such as shape, colour, and texture, and how they contribute to meeting the design criteria.
Activity:
Provide students with a template for a design diagram and encourage them to plan their fabric bird based on the given design criteria. Students can use sketches and annotations to illustrate their ideas.
Key Concept and Retrieval Questions:
What elements make up the design of a fabric bird?
How can different fabric textures and colours be used to enhance the design?
What is the purpose of your fabric bird – this will link to the design criteria we created?